


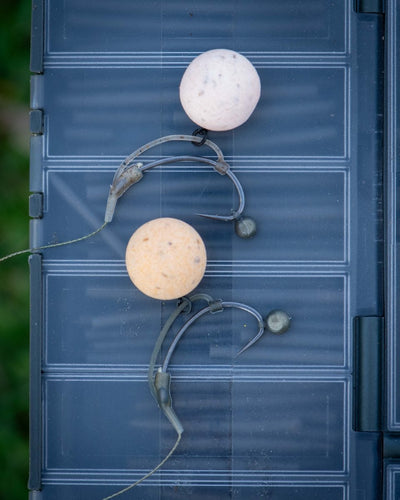

A carp rig developed from underwater footage
Many carp rigs are born from trust, experience, and results at the waterside. With this setup, an additional source of information plays an important role: underwater footage of feeding carp.
The video explains a rig that combines several successful elements from earlier underwater footage. The base is inspired by a rig that achieved an exceptionally good ratio between pickups and hooked carp during an underwater film.
Some personal adjustments have been added to that. An important example is the use of a relatively large amount of putty at the transition between the stiff and supple section. Also, a small piece of putty is placed directly on the hook.
These details are not added just like that. Underwater footage showed that extra weight in the right spots can influence how fast the hook turns and drops as soon as a carp tries to spit out the bait.
Why this rig is more elaborate than a standard setup
The angler in the video indicates that he normally prefers to fish with simple rigs. Especially when the goal is to catch multiple carp, simple setups have clear advantages.
They are quick to tie, easy to prepare in advance, and can be replaced immediately after a catch. When you carry plenty of leaders, you only need to attach a new rig at the waterside and can quickly continue fishing.
The rig in this video is more elaborate. It’s not particularly difficult to tie, but it does consist of more components and steps. As a result, preparation takes more time.
That extra effort is mainly intended for situations where every chance counts. Think of tricky waters, wary carp, or a targeted hunt for a special fish. In such conditions, it can be wise to let as many details as possible work in your favor.
The combination of a stiff and supple section
The rig consists of two clearly different materials. For the boom section, 60 lb snag leader is used. This sturdy mono material forms the stiff part of the leader.
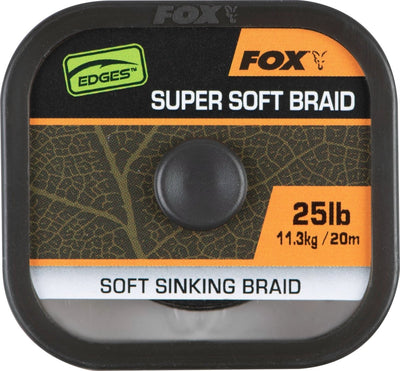
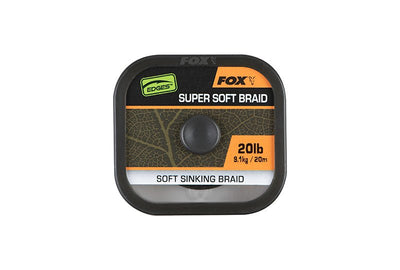
For the section near the hook, 35 lb Naturals Super Soft Braid is used. This very supple braided line is doubled over and connected to the boom section.
The stiff section helps push the rig away from the lead during the cast. This reduces the chance of tangles and ensures the rig lies neatly straight after landing.
The flexible section gives the hook freedom of movement. When a carp approaches the hookbait from different angles, the hook section can move and rotate more freely.
This combination provides control during the presentation and flexibility at the moment a carp takes the bait.
The correct length of the flexible loop
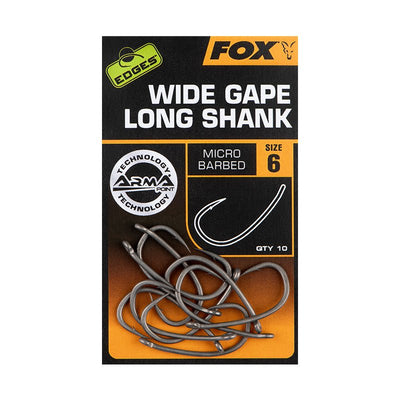
When preparing the braided section, the braid is folded double. The length of this loop is matched to a Wide Gape Long Shank hook in size 6.
By making the loop about as long as the hook, a controlled flexible section is created. It’s long enough to allow the hook to move freely but not so long that the presentation becomes too loose or unpredictable.
Especially with technical rigs, small differences in length can affect performance. That’s why the hook is used as a simple reference. This way, multiple leaders can be prepared in the same way.
The Albright knot step by step
The stiff and flexible materials are connected with an Albright knot. First, a section of the mono boom is folded back.
The braided line is passed through the gap between the two parts of monofilament. Then the braid is wrapped five times around the folded-back mono.
Then two more wraps are made back over the previous wraps. The end is then passed back through the loop of the mono material.
When the knot is carefully tightened, a compact and strong transition forms between the stiff boom and the flexible hook section.
Take your time when tightening and ensure the wraps lie neatly next to each other. A carelessly tightened knot can be weaker and results in a thicker, less tidy transition.
A boom section of about four inches
After tying the Albright knot, the stiff section is measured to about four inches. A perfect loop knot is tied at the end.
This loop allows the rig to be quickly attached to a suitable lead system or a quick-change connection.
A key advantage is that the boom section lasts a long time. After a catch, the entire rig does not automatically need to be replaced. As long as the material is undamaged and the knots remain reliable, the same boom can produce multiple carp.
Making the boom section is the most time-consuming part of the rig. However, since it is reusable, you don’t have to do this work again after every bite.
Preparing the flipper
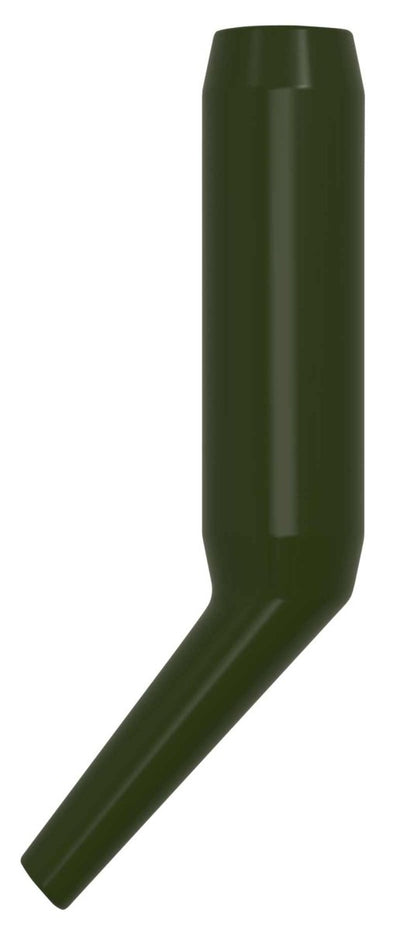
Next, a flipper is adjusted. The rear part is shortened by about half. Then the flipper is slid over the braided section using a boilie needle.
The flipper influences the angle at which the leader leaves the hook eye. This allows the hook to turn faster when the hookbait enters the carp’s mouth.
Shortening ensures the flipper fits the chosen hook and does not unnecessarily restrict the movement of the flexible section.
Always check after fitting that the flipper is straight and undamaged. The line must run freely through the material without sharp edges.
Securing the hook and hook ring swivel
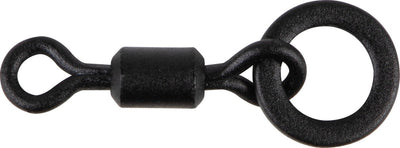
The braided loop is passed through the eye of the Wide Gape Long Shank hook. Then a hook ring swivel is slid onto the loop.
Next, the entire loop is folded over the hook. This effectively attaches the hook to the leader like a lasso.
This construction gives the hook ring swivel room to move over the hook shank. The hookbait can slide off the hook during spitting, while the hook point remains free to catch flesh.
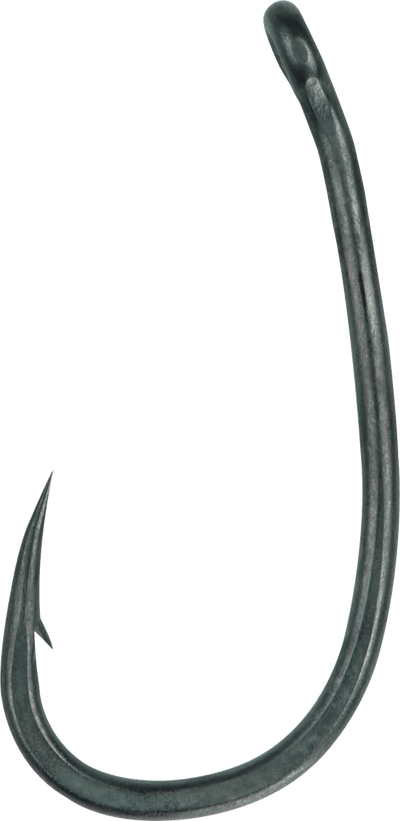
The chosen hook has a Long Shank and a wide gape. Combined with the flipper and the flexible braided section, this creates a presentation that can turn quickly.
Why there is so much putty on the rig
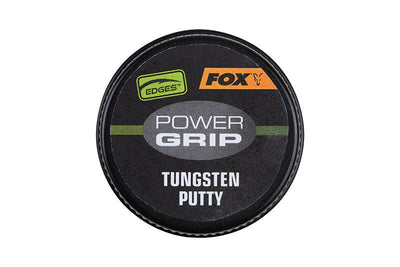
A striking feature of the rig is the amount of putty. A relatively large piece is placed around the Albright knot, right at the transition between the stiff and flexible section.
This weight helps keep the leader on the bottom. At the same time, it can act as a pivot point when a carp takes the hookbait and tries to spit it out again.
Additionally, a smaller piece of putty is placed just behind the barb on the hook. This extra weight is intended to make the hook point drop down faster.
When a carp blows the bait out, you want the hook not to move out weightlessly. By adding weight strategically, the aim is to make the hook turn into the lower lip faster.
The amount must be carefully balanced. Too little weight may have little effect, while too much weight can make the presentation unnatural or completely negate the buoyancy of the hookbait.
Preparing the dumbbell hookbait.
A dumbbell-shaped wafter is used for this rig. A hole of about three millimeters is drilled on the underside.
This opening is meant to partially embed the hook ring swivel and putty inside the hookbait. This keeps the weight compact and the outside of the presentation relatively neat.
After drilling, a thin boilie needle is pushed through the entire wafter. This prepares the route for the bait floss that will secure the bait.
Drill carefully and check the depth regularly. If the hole becomes too large or too deep, the hookbait can tear or won’t hold firmly on the floss.
Attaching the hookbait with bait floss.
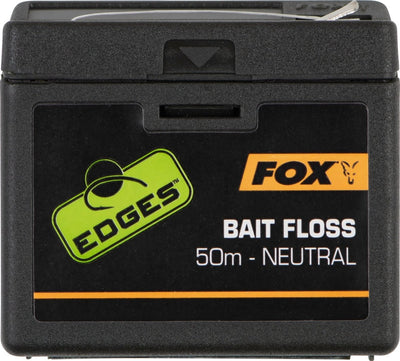
A piece of bait floss is threaded through the eye of the hook ring swivel. Then the dumbbell hookbait is pulled over the floss using the boilie needle.
A small amount of putty is applied again around the hook ring swivel. Then the swivel and putty are pulled into the pre-drilled hole of the wafter.
This way, the weight is partially hidden inside the hookbait. The presentation stays compact and the buoyancy can be balanced precisely.
The end of the bait floss is carefully heated with a lighter to form a small blob. This prevents the hookbait from sliding off the floss.
Do not hold the flame directly against the bait. Only heat the end of the bait floss and gently flatten the melted blob if needed.
Check the buoyancy before casting.
Because putty is used in several spots, it’s important to test the rig at the bank before casting. The hookbait must behave exactly as you intend.
A wafter should partially compensate for the hook’s weight without standing like a high pop-up off the bottom. By mixing putty into the hookbait, you can fine-tune this balance precisely.
If the hookbait sinks too heavily, remove a small amount of putty or use a wafter with more buoyancy. If the bait is too light, you can carefully add a bit more weight.
Also check if the hook can rotate freely and if the hook ring swivel moves smoothly along the shank without resistance.
For which situations is this rig intended?
This rig is especially interesting for situations where you don’t expect many chances. On waters with a large stock and lots of action, a simple, quickly replaceable hair rig might be more practical.
However, if you’re targeting a hard-to-catch carp or fishing waters where the fish have seen many rigs, extra attention to how your rig works can be valuable.
The rig combines several features: a stiff boom for a neat presentation, a flexible hook section for freedom of movement, and extra weight to make the hook turn faster.
The goal is not to make a foolproof rig. No carp rig hooks every pickup. The rig mainly tries to reduce the chance that a carp can take the bait smoothly and spit it out again.
What do you learn in this How-to video?
In the video, you see step-by-step how the stiff and flexible parts of the rig are prepared and connected with an Albright knot. You also learn how to determine the length of the boom and the braided loop.
Next, it’s explained how to mount the flipper, hook, and hook ring swivel. You see where the different pieces of putty are placed and what role they play within the rig.
Finally, the dumbbell hookbait is drilled, attached with bait floss, and balanced by pulling the swivel and putty partly into the wafter.
The main lesson is that a technical rig doesn’t have to be complicated to understand. Every component has a clear function. When you know why a part is added, you can better judge if the rig suits your spot and style of carp fishing.
More preparation for a better chance
This rig takes more time to tie than a simple standard leader. Still, that extra preparation can be justified when fishing for hard-to-catch carp.
By combining lessons from underwater footage, the rig aims to limit multiple escape options. The hook has plenty of freedom of movement but is simultaneously weighted at strategic points.
Prepare the boom sections at home, carefully check all knots, and test each rig before using it in the water. This prevents the extra components from causing uncertainty.
For carp anglers who want to better understand their rig mechanics and enjoy experimenting with technically refined presentations, this How-to video offers an interesting and practically applicable explanation.
About the author